As the landscape of digital content continues to evolve, creating headlines that draw in readers is essential. However, it can be difficult for even experienced writers to craft captivating headliners. Fortunately, there are steps you can take to make sure your headlines stand out and attract attention.
From using powerful words to following a few simple rules, this article will provide you with strategies on how to fix headliner woes and ensure your content reaches its full potential. So if you’re looking for ways to strengthen the impact of your titles, read on!
Identifying Headliner Problems

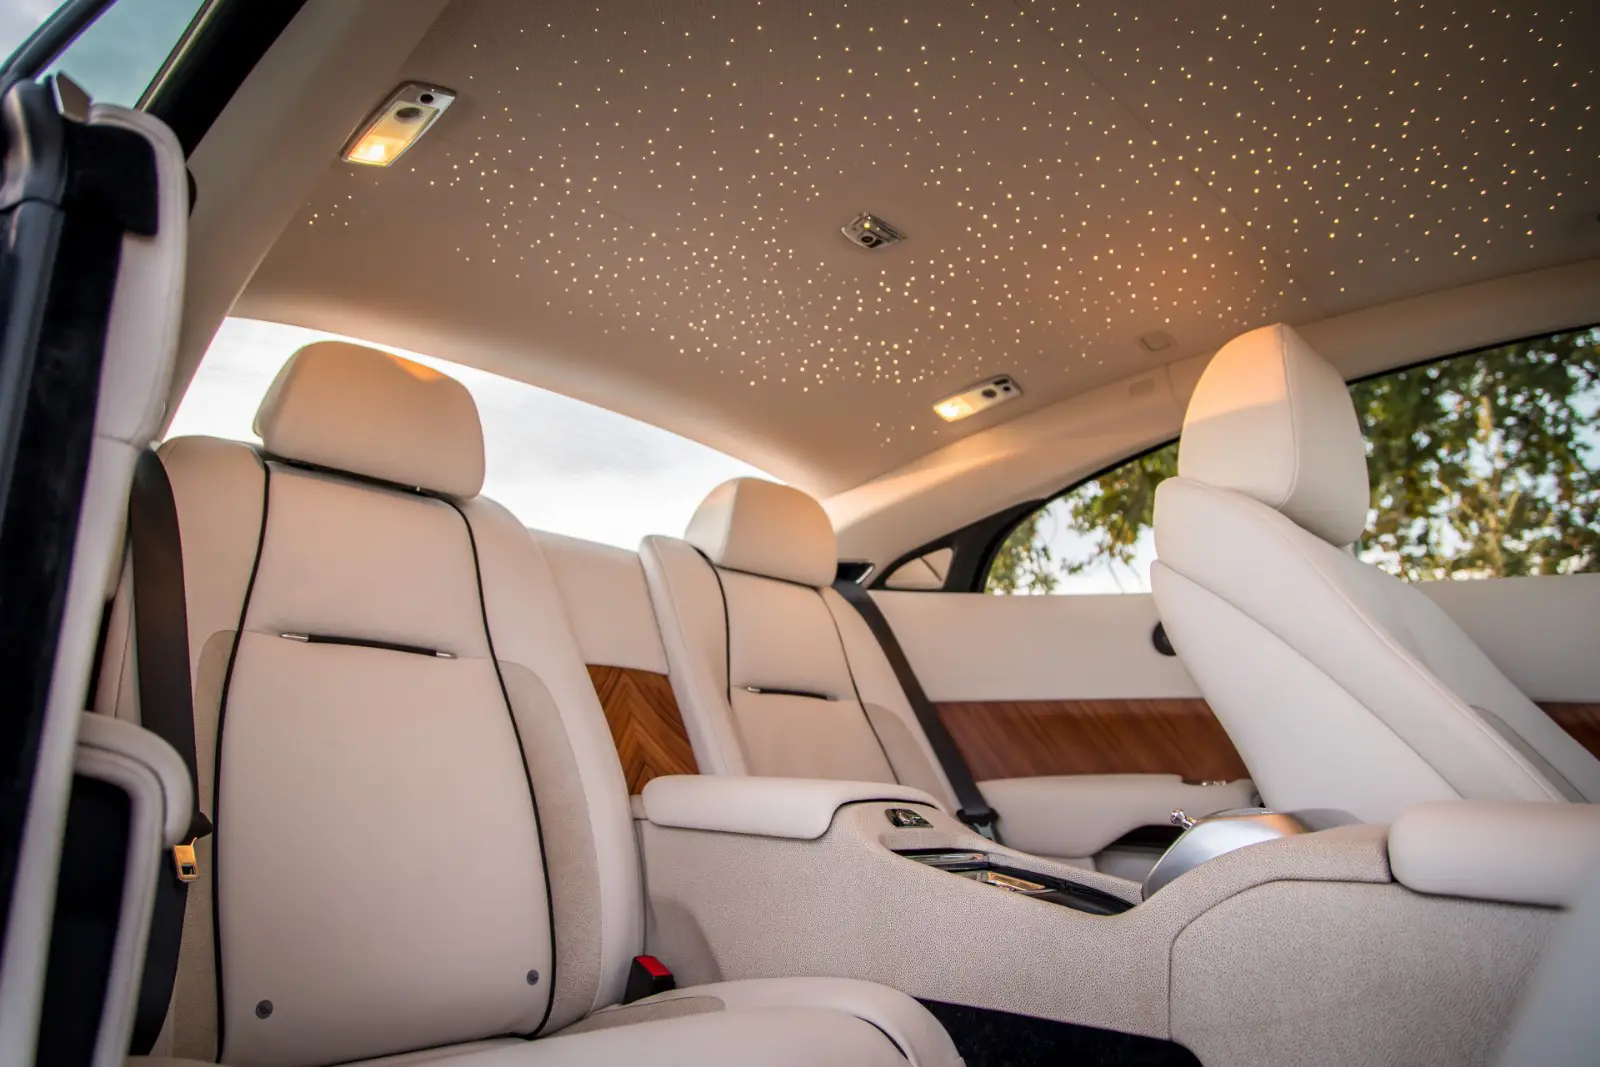
Identifying headliner problems can be difficult, but it is often the first step in fixing them. It’s important to take a closer look at your car’s interior and exterior for signs of damage. If you spot any rips, tears, or sagging fabric this could be an indication that your headliners need attention.
Additionally, if there’s discoloration on the material due to sun exposure or water damage then this too should not go unnoticed. Once you have identified these potential issues with your headliners it’s time to decide what action needs to be taken to rectify them.
In some cases a simple repair may do the trick while more severe issues might require new panels being installed entirely – fortunately, both options are usually relatively inexpensive when compared with other types of automotive maintenance!
Common Causes of Headliner Issues
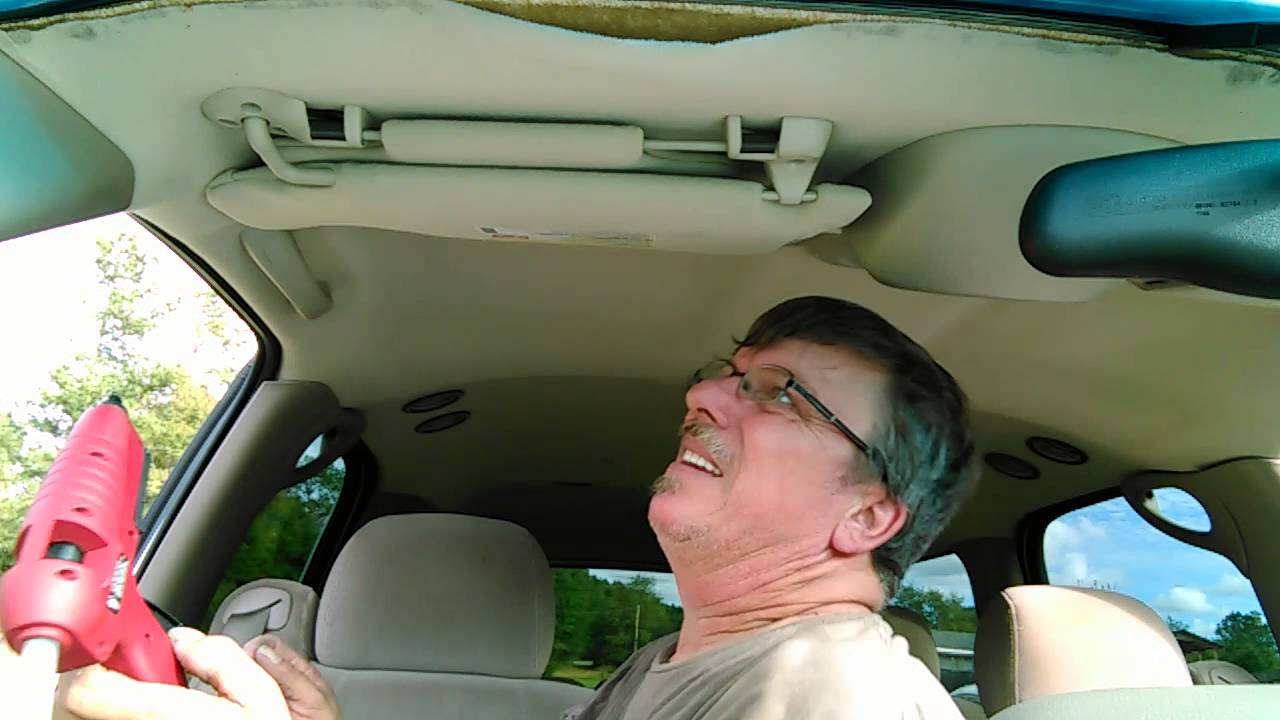
Headliners can become damaged over time due to a variety of reasons, such as excessive sun exposure or moisture buildup. This can cause them to sag, come loose, smell musty, and even tear.
Other common causes of headliner issues include improper installation or repair work done on the vehicle, poor quality materials used in manufacturing the headliner itself, and age-related wear and tear. In some cases, wires may be exposed which could lead to further damage if not addressed promptly.
Additionally, car owners may notice discoloration from dyes running off fabric surfaces during use or from liquids that have been spilled inside their cars. Lastly, pests like rodents can also contribute to headliner damage if they make nests in this area of the vehicle.
Diagnosing the Problem Quickly and Accurately
Diagnosing the problem quickly and accurately is essential when it comes to fixing headliner woes. Without proper diagnosis, the root of any issue may be missed and cause further damage down the line or simply be a waste of time and money.
With accurate diagnostics, however, you can save yourself time and energy by finding out what exactly needs to be repaired to get your vehicle back into working condition. To diagnose a problem correctly and efficiently, there are several considerations one should take into account.
First, thoroughly inspect all parts that could potentially be causing an issue like loose wiring or broken fuses. Second, if possible obtain diagnostic codes from any onboard computers to determine where the fault lies with more accuracy.
Thirdly consider consulting with experienced professionals who are familiar with these types of repairs. By doing so they can help identify other potential causes as well as guide how best to approach making repairs that will last for years come without breaking budget constraints.
Lastly, remember that knowledge is power; do some research beforehand so you’re better equipped when taking on this task.
Repairing Your Vehicle’s Headliner Properly
Repairing your vehicle’s headliner properly is the key to keeping it looking great for years. A sagging or damaged headliner can be an eyesore and make your car look older than it is. Fortunately, there are several tips that you can follow when attempting to repair a headliner in your vehicle.
First, gather all of the necessary materials: spray glue, foam padding, replacement headliners (if needed), and fabric scissors. The type of material used will depend on the model of the vehicle; if you don’t know what kind of cloth should be used to repair your particular car, consult a professional before beginning any work.
Next, begin by removing the old upholstery from around the area where you plan to attach new material—this may require some patience as well as special tools like a flat-edged screwdriver for prying off stubborn pieces of trim.
Once this has been done, use foam padding and adhesive spray to secure both sides of the replacement headliner piece into place ensuring that everything sits flush against each other without any gaps or air pockets between them.
Finally cut out pieces from extra fabric using scissors and carefully glue them over places where staples were once located so they blend in with existing upholstery nicely without standing out too much visually! This should ensure that no one notices any difference between original parts and newly replaced ones; making sure that job looks professionally finished every time!
Maintaining a Well-Functioning Vehicle Headliner
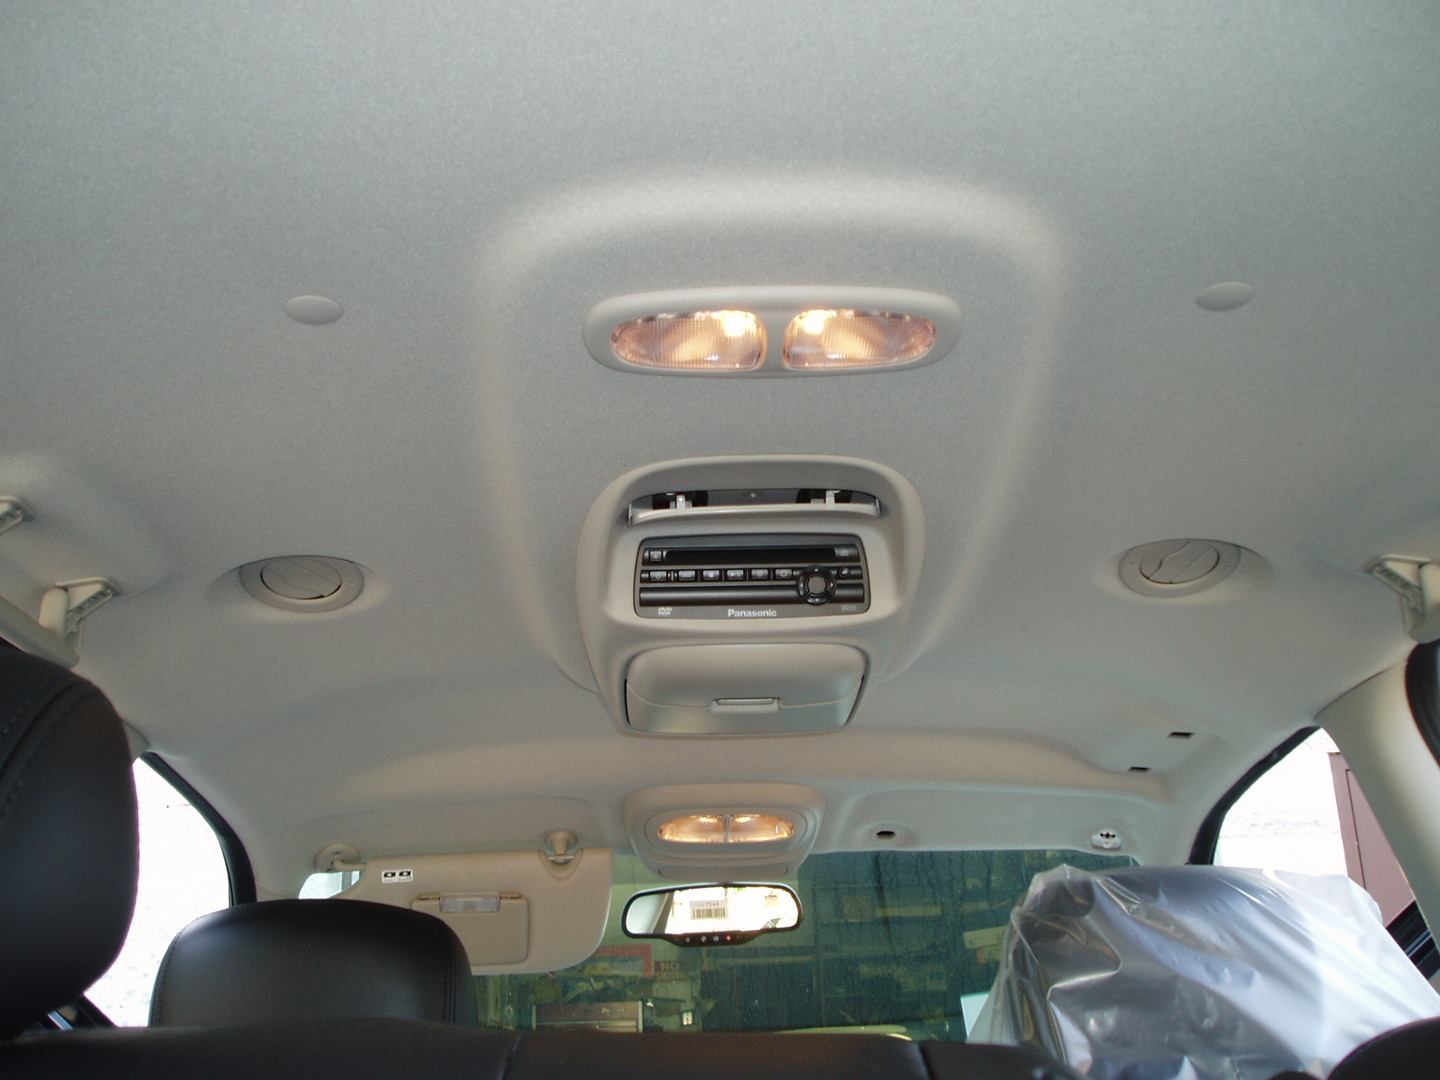
Maintaining a well-functioning vehicle headliner doesn’t require much effort, but it is an important part of keeping your car’s interior looking like new. Regularly cleaning your headliner will help maintain its appearance and keep it free from dirt, dust, and other debris that can accumulate over time.
Additionally, you should inspect the condition of any foam or insulation backing behind the fabric to ensure there are no cracks or tears that could cause serious damage if left unchecked. If necessary, use a mild detergent and soft cloth to gently clean away stubborn stains without damaging the fabric itself.
Finally, be sure to check for signs of wear such as fraying edges or loose stitching before replacing the entire headliner with a new one. With proper care and attention, you can preserve the look of your car’s interior for years to come!